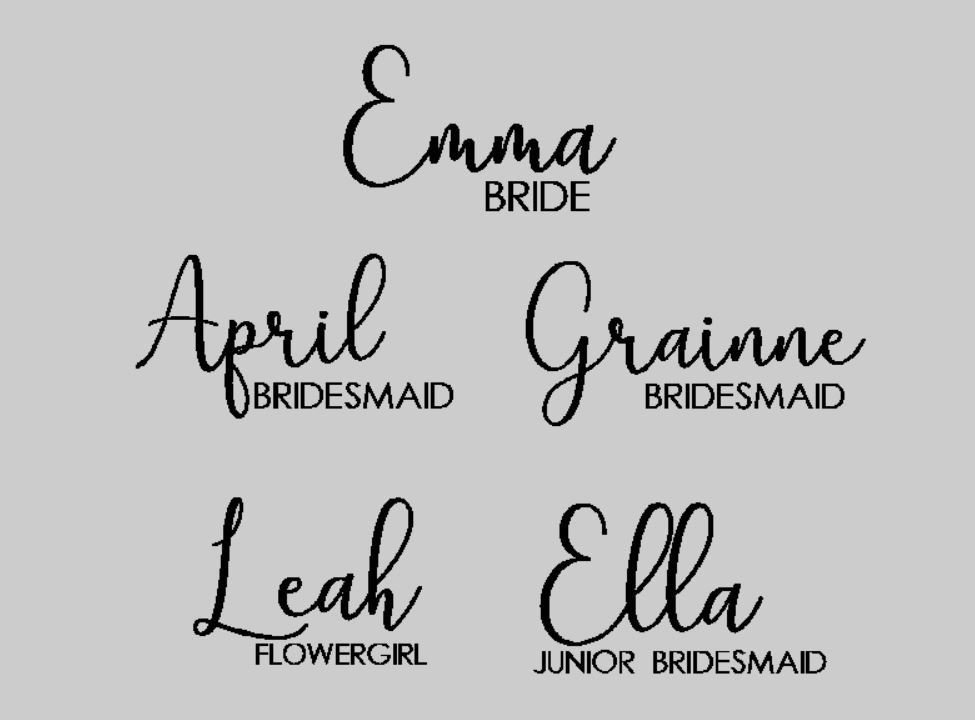
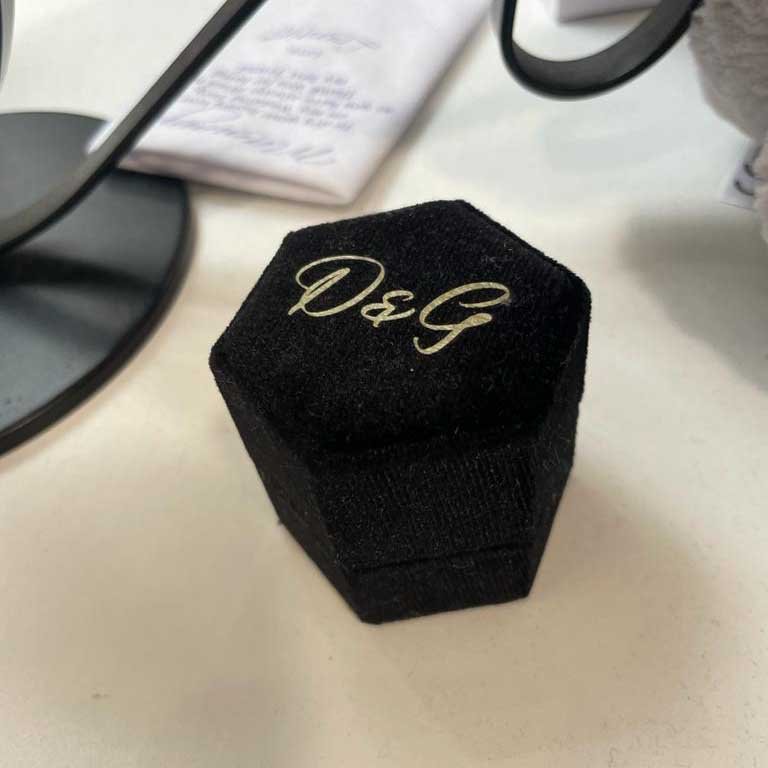
- Our custom made decals are an absolute must for the perfectly organised home, workplace or event. If you love everything to have it’s place and look it’s best – look no further than here! Our decals are easily applicable – to a clean, dry, flat surface and once cared for properly are long lasting. Perfect for kitchen ware, bedroom organisers, playroom storage boxes, office organisation, wedding personalisation etc.
Step by step guide to applying your decals:
Step 1 – Ensure the area you want to apply your label to is clean and dry, it is best to avoid any product that may leave a residue such as cleaning products
Step 2 – Take an old card (I typically use an old bank card) and rub it firmly over the see through side, NOT the patterned side.
Step 3 – Peel away the white backing (with patterned back) and you will be left with the clear paper having your lettering attached.
Step 4 – Place the label on the surface you wish to attach it, ensure you are happy with the placement of the label before letting it touch the surface as it will stick very fast.
Step 5 – When the label has been placed on the surface again rub over it with an old card, this is the time to push out any unwanted air bubbles, before peeling back the clear paper and admiring what you’ve done :)


